Design and mill PCB: Easy and Cheap (bCNC, UGS) – Part 4
I voluntarily kept the images of my old router to give the idea of the “simplicity” of the operation. The results are not professional, but they work very well, and it is all experience as we will see when I publish the tutorial on the construction of the most advanced CNC.
Universal GCode Sender
I use to send command to CNC UGS, It’s very simple and beautiful, but insufficient in some functionalities, I think bCNC is better.
The common cutting order is:
- copperBottom
- label
- drill
- border
bCNC autolevelling
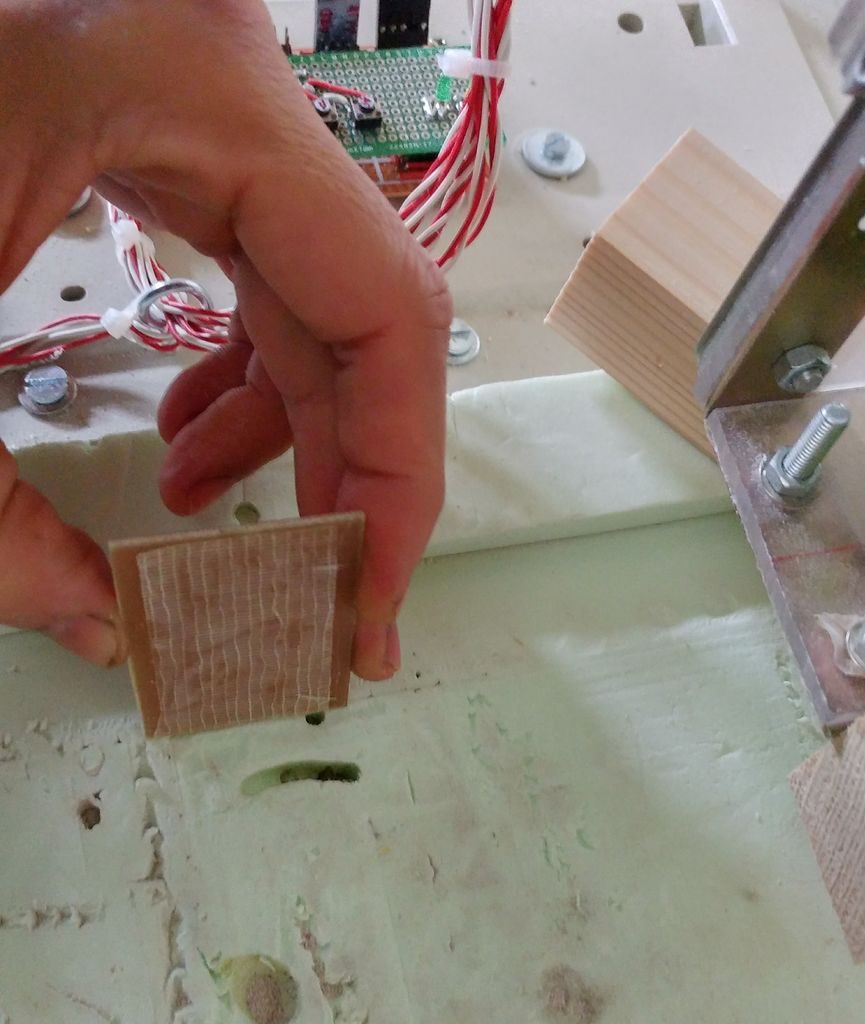
Frist go to home.
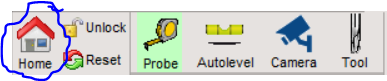
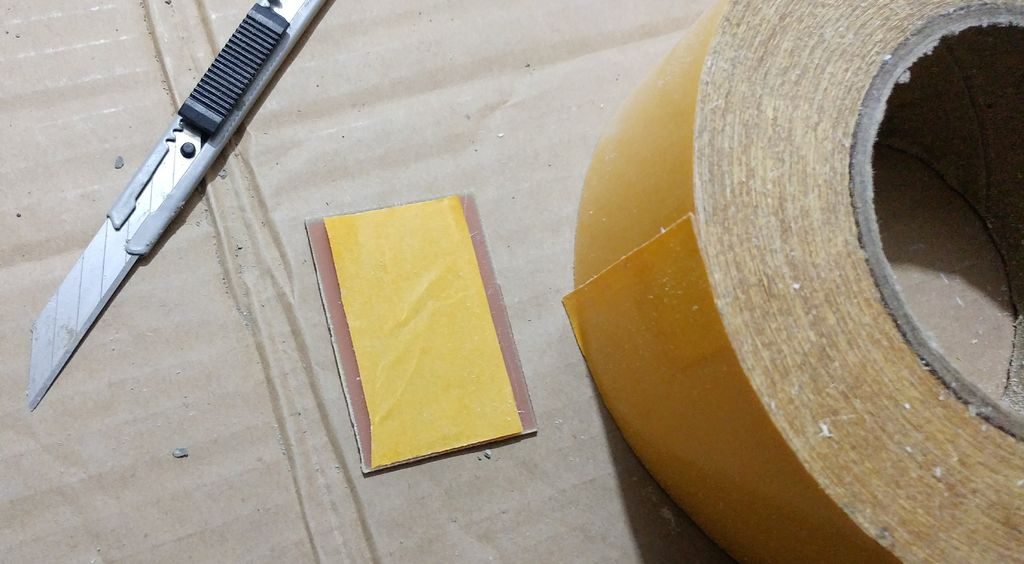
Then go with Dremel in the bottom left position of the copper clad, about 1mm over, than set 0 machine.
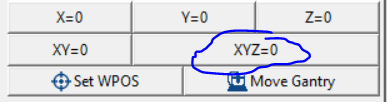
Now set the correct value to do Probe
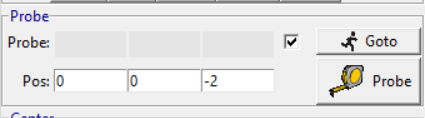
Now start Probe than set 0 machine again.
Now go to Autolevel and set correct value. The value must cover the area of milling, you can use also the Margins button to cover the current file, but I prefer to cover all the size one time for all.
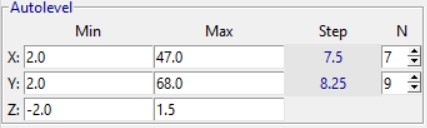
Min is the minimun value in the left bottom, and max the max area to cover from 0 position. Generally I put the N value todo Step around 7-8 mm. Than start “Scan”.
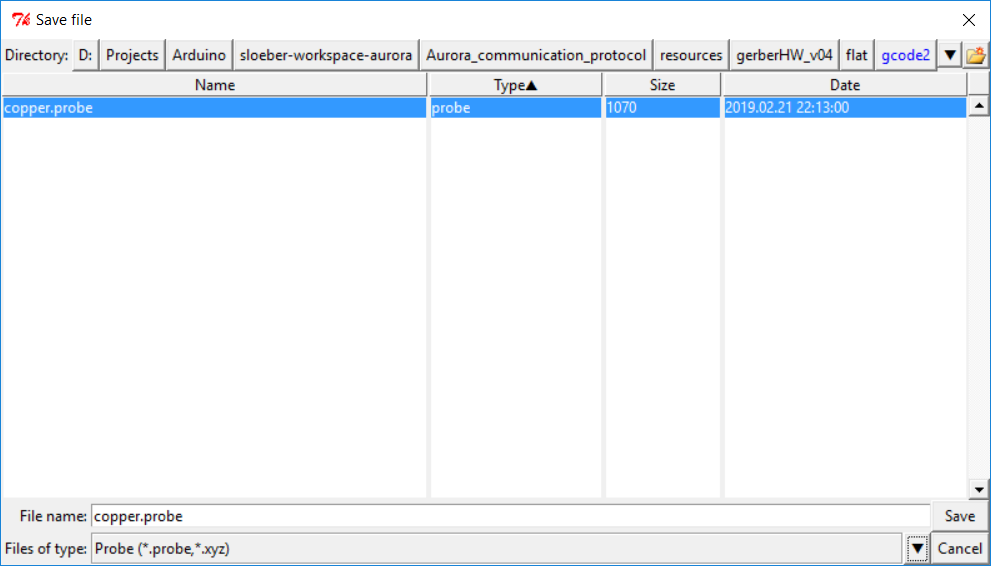
At the end I save the probe data (If you do all CNC operation in one time the program ask you to mantain the probe every time).
In detail the features that It’s very important to get high level result is autolevelling.
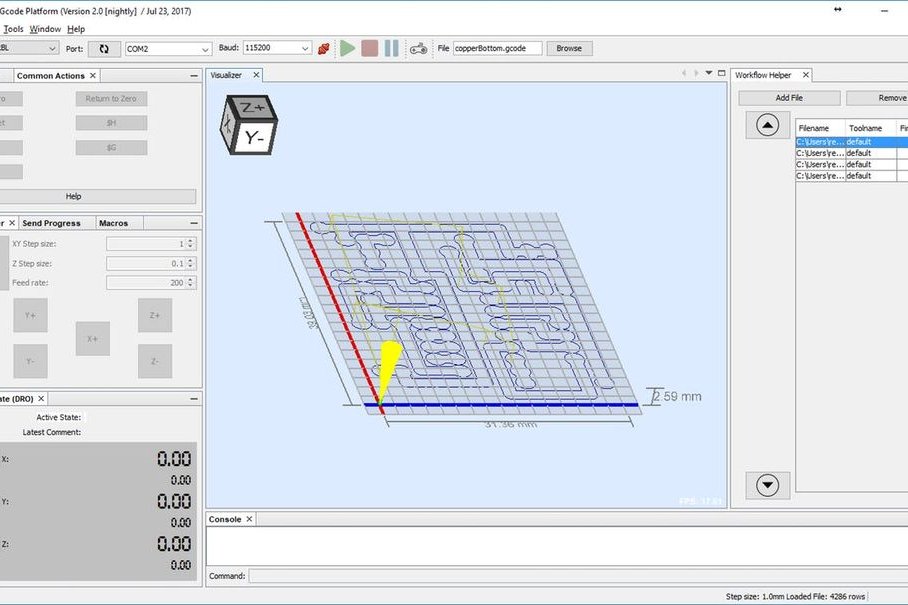
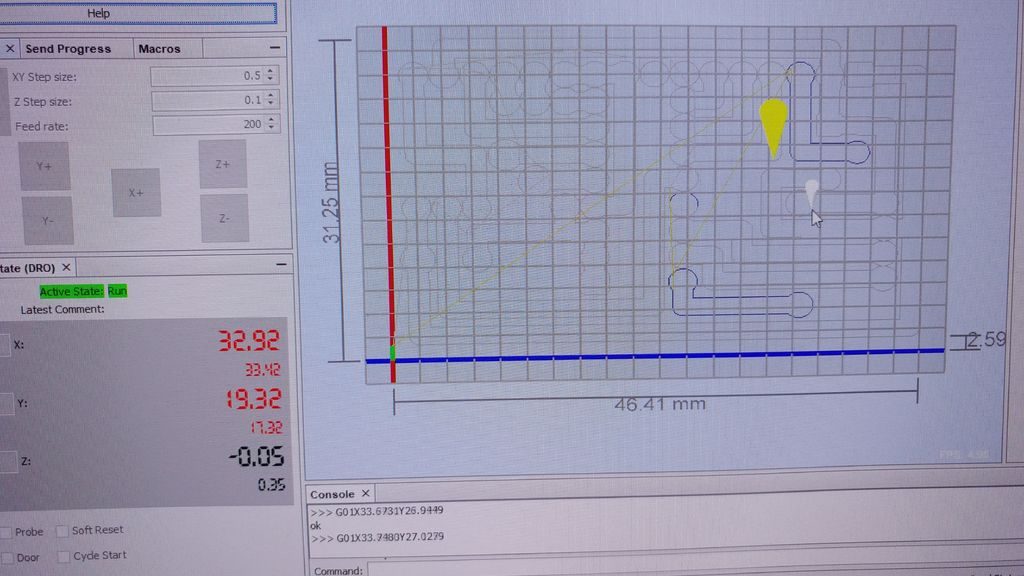
Universal GCode Sender: Simulation
Here a simulation of Universal GCode Sender.
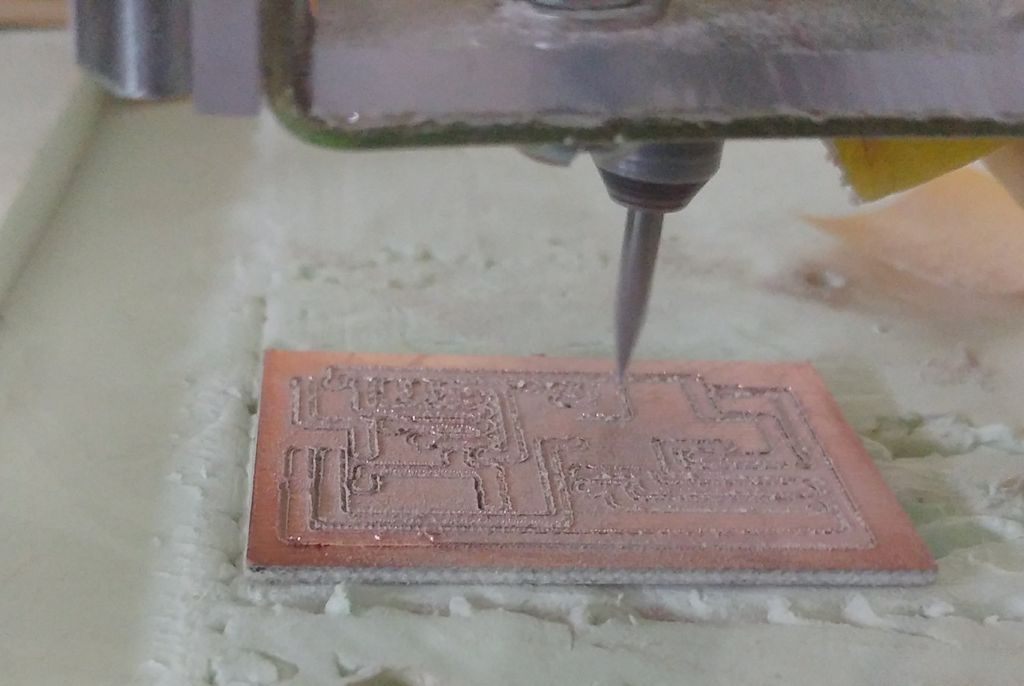
Start Routing
After positioning Zero coordinate, start routing.
For this part I use a photo of other project that I have directly available.
Start Routing UGS: Video
Finish copper bottom routing.
Start Routing bCNC: Video
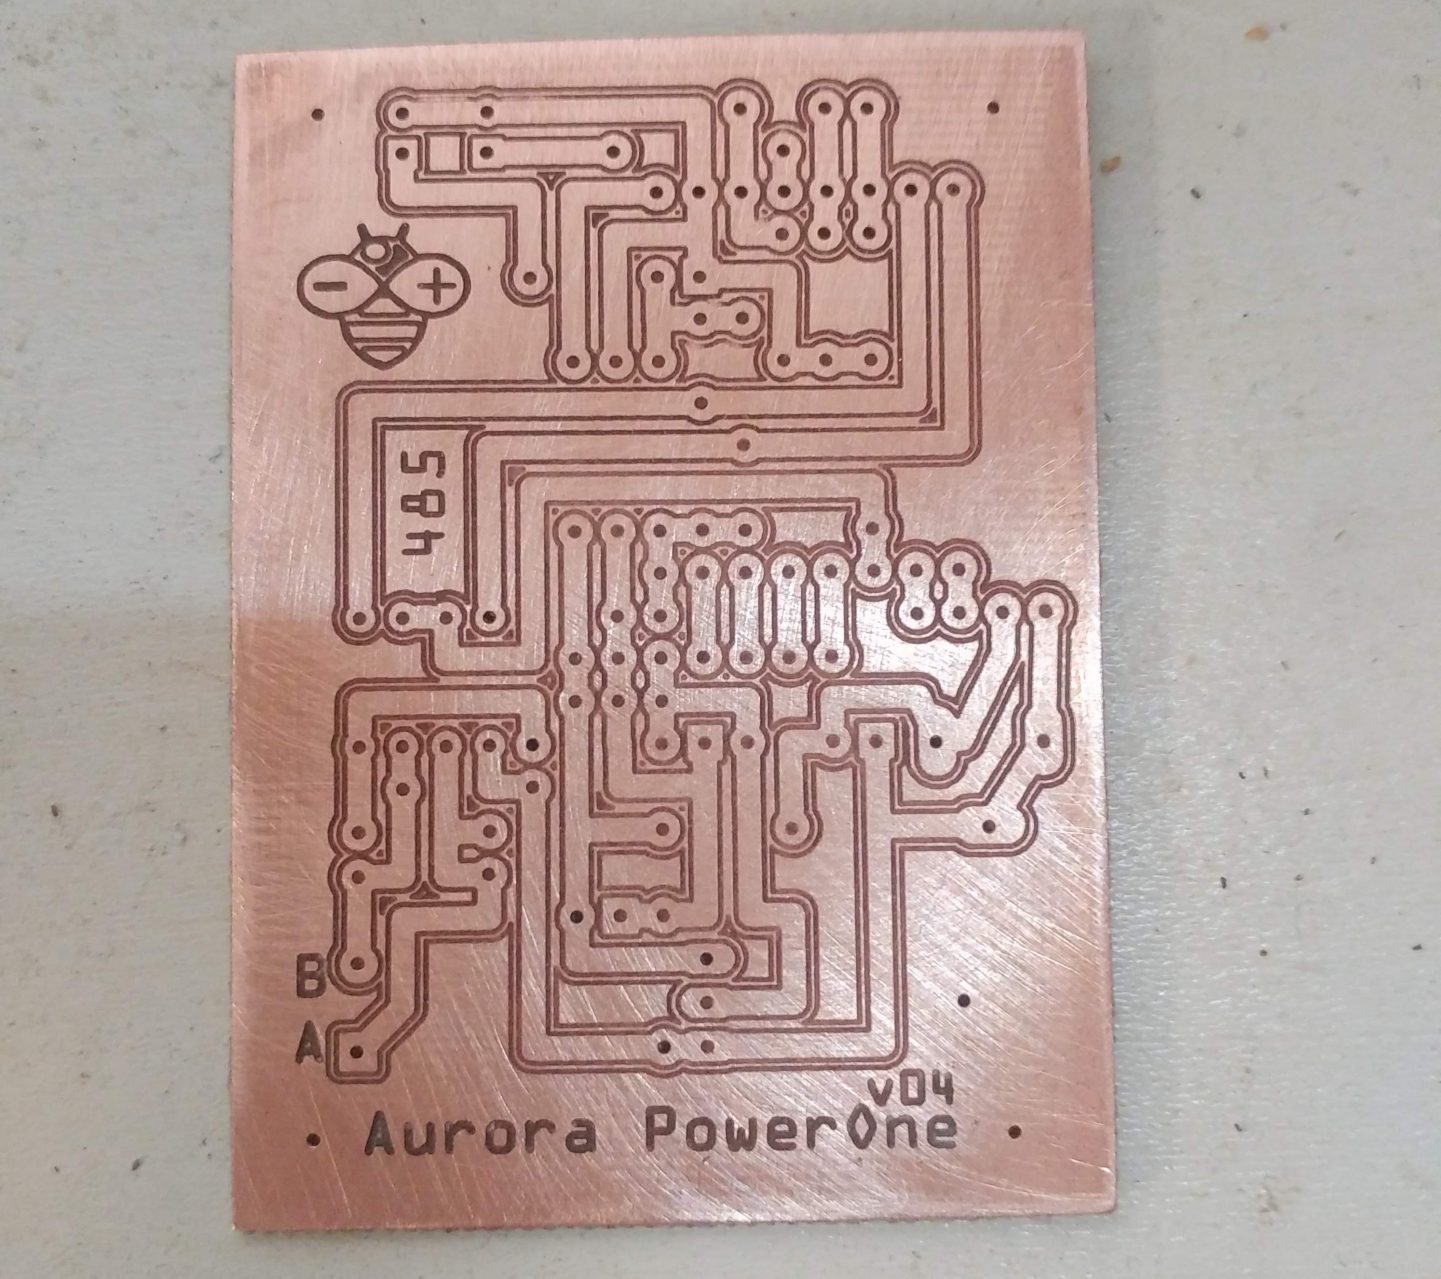
Milling ABB Aurora centraline board.
Dirty Result
When finish the result is quite ugly.
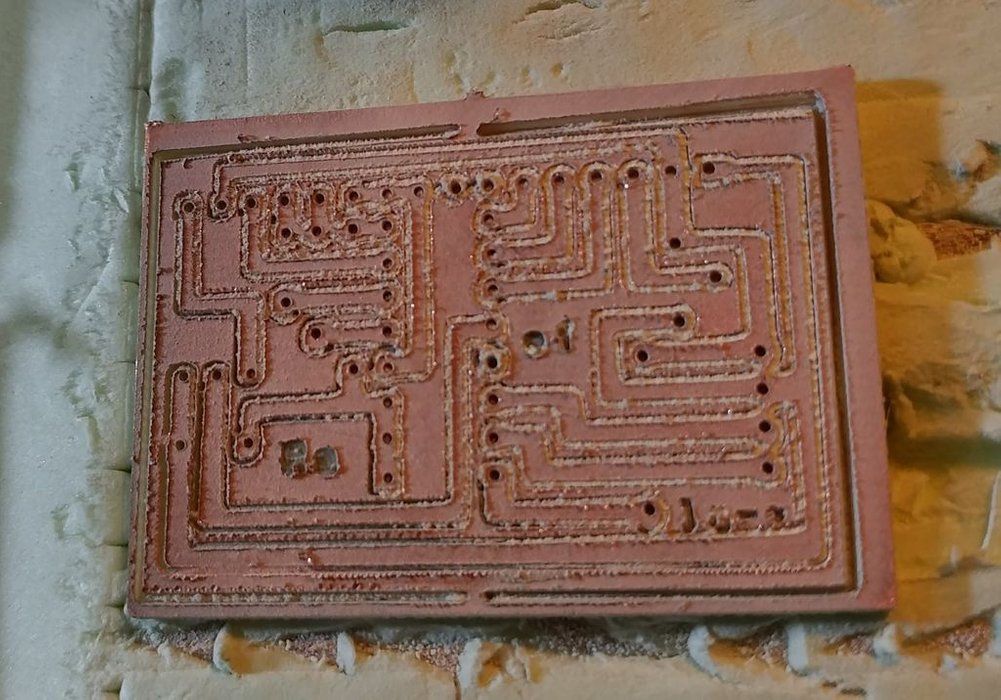
For this part I use a photo of other project that I have directly available.
Sanding Board
With sand paper PCB take form.

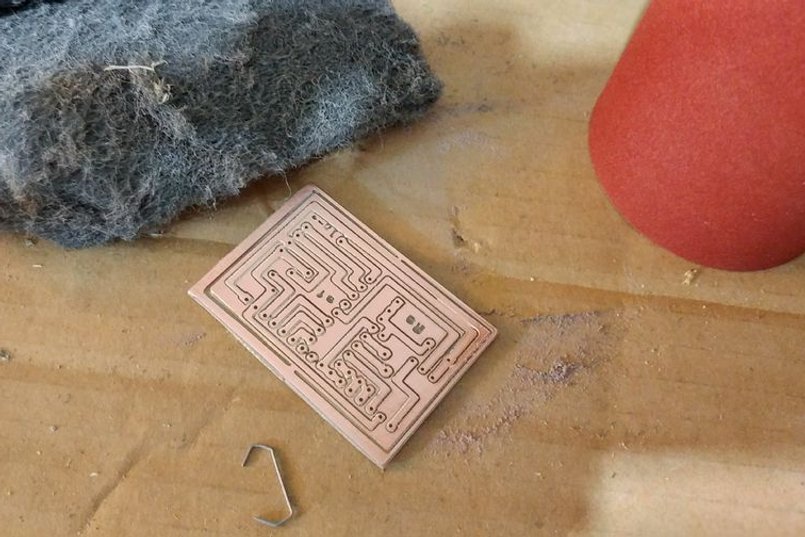
Then cut border with scissor.
Copper Clad Milled
Now we have our first view of PCB

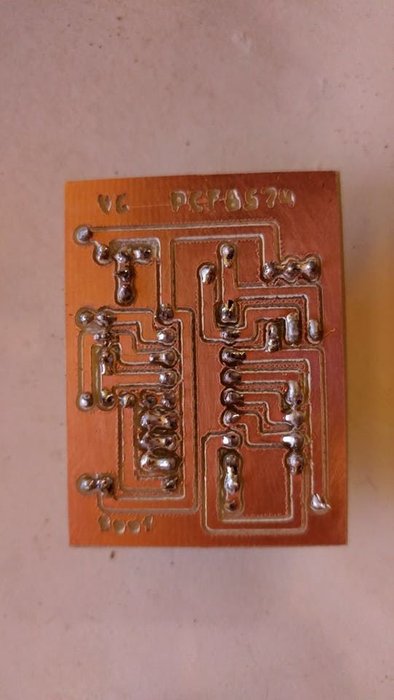
Soldering Component
In a full PCB copper ring thickness is quite thin, but no problem to solder It.
Final Result
The result It’s ok.
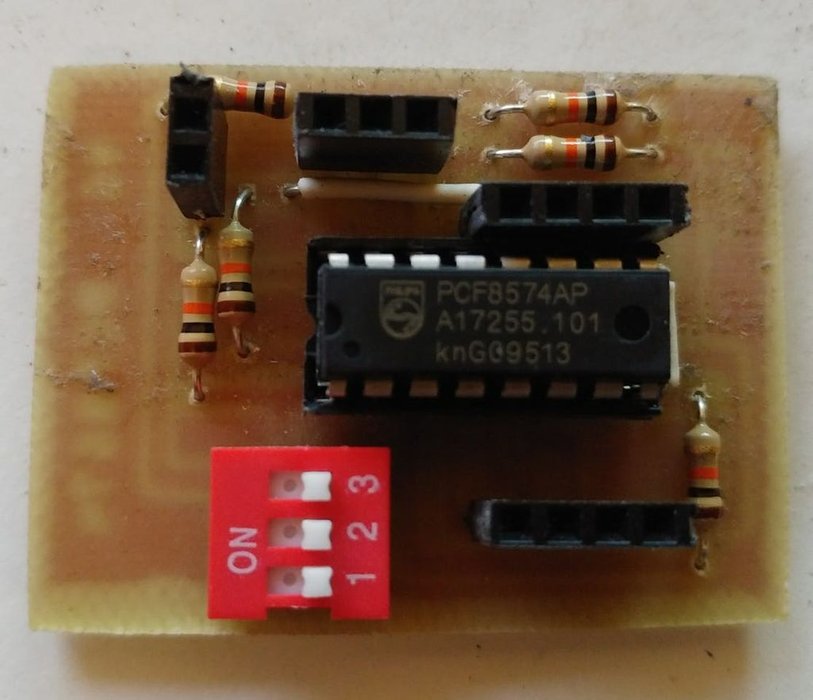
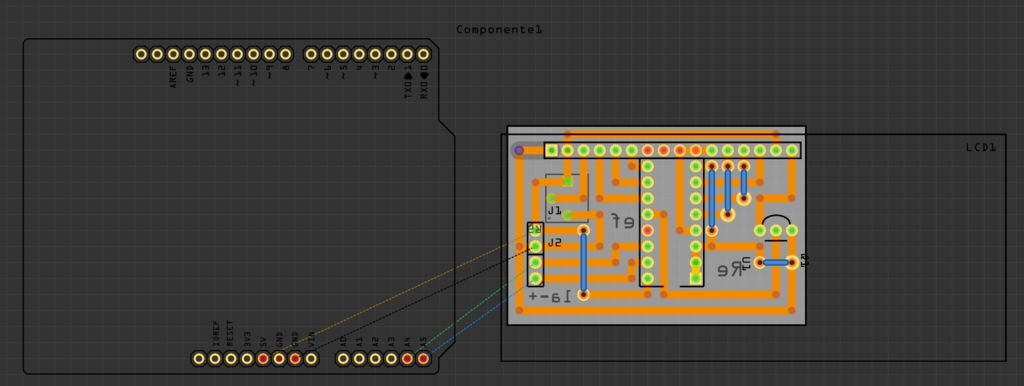
Examples: I2c LCD Adapter

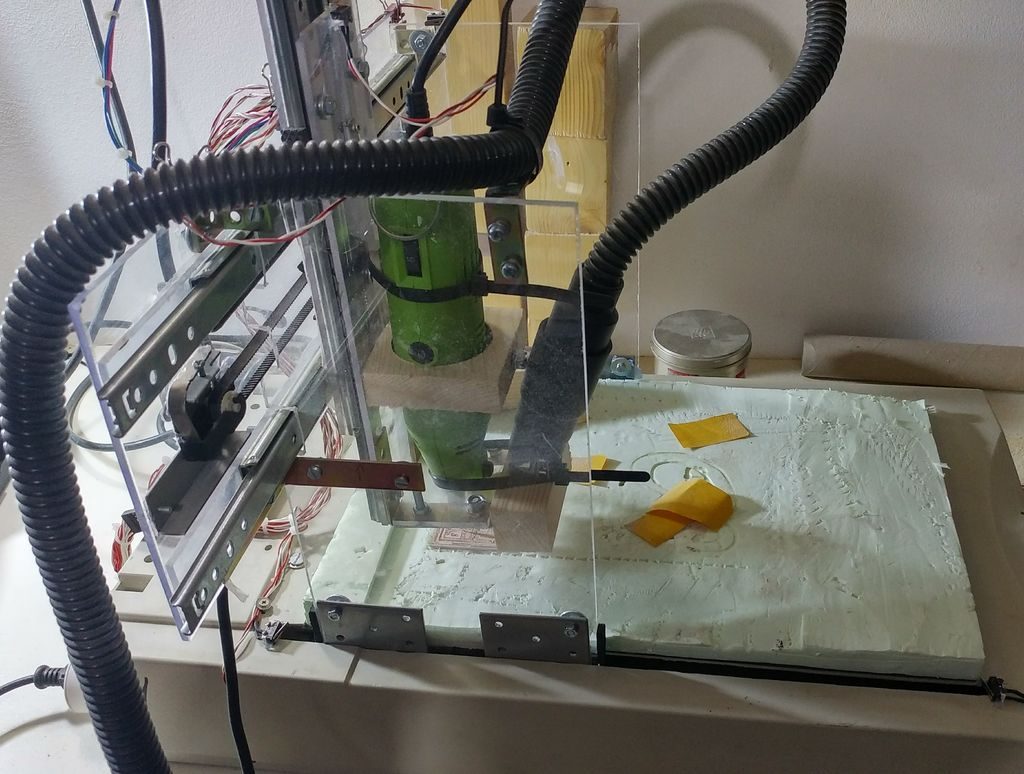
CNC upgrade
I proceeded to redo my CNC (soon a guide step by step), and the results are obvious.
Thanks
Before starting to post the guide for the creation of the CNC, I will add a further chapter which will concern the soldering mask.