
FlatCAM practical tutorial: introduction, installation, and import – Part 1
First, I’d like to add the description of FlatCAM on the main site:
FlatCAM is a program for preparing CNC jobs for making PCBs on a CNC router. Among other things, it can take a Gerber file generated by your favorite PCB CAD program and create G-Code for Isolation routing. (cit.)
I remember the tutorial to create a cheap and straightforward CNC, from mechanical part (3D printed) to electronic (Arduino CNC shield).
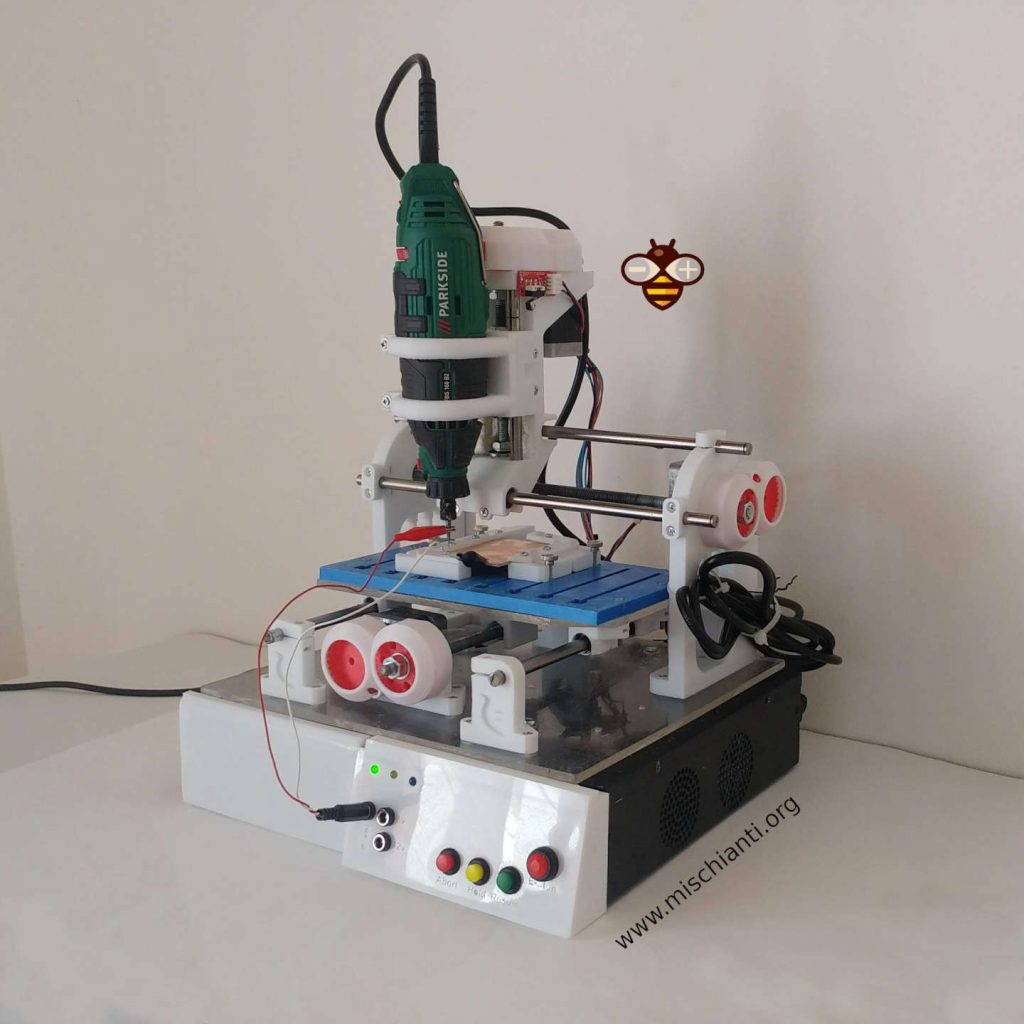
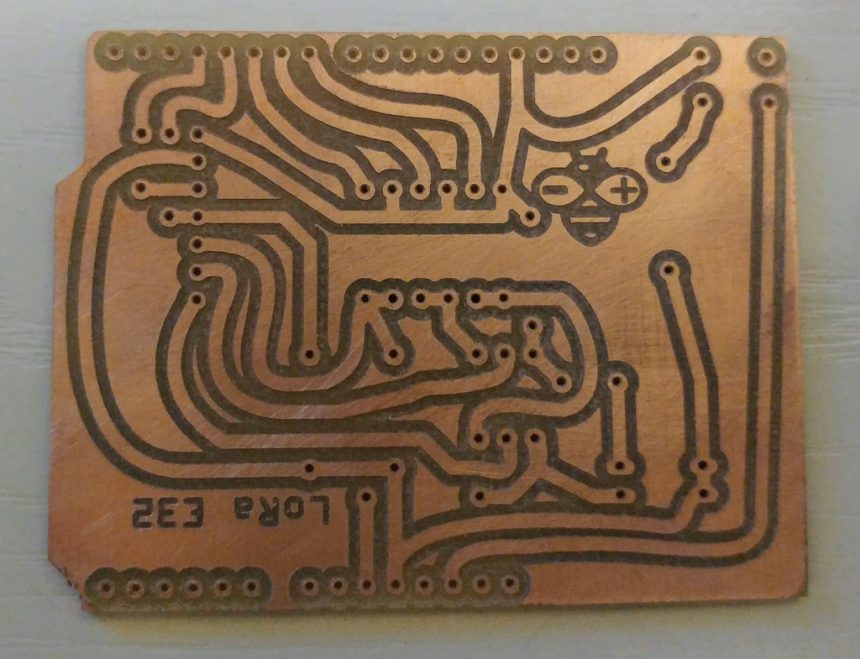
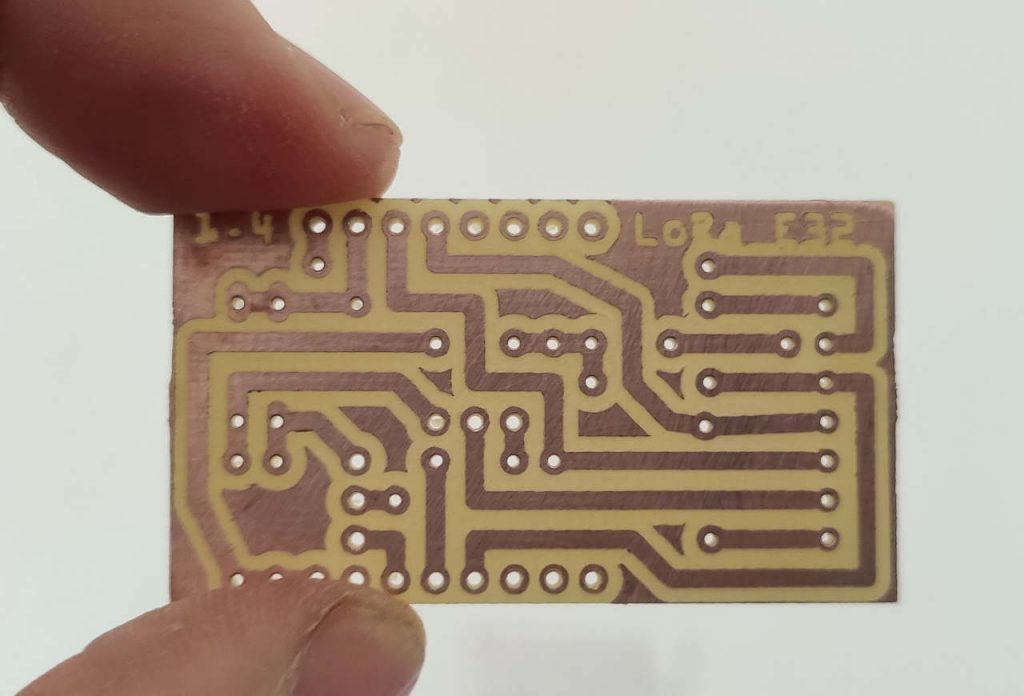
Here some work
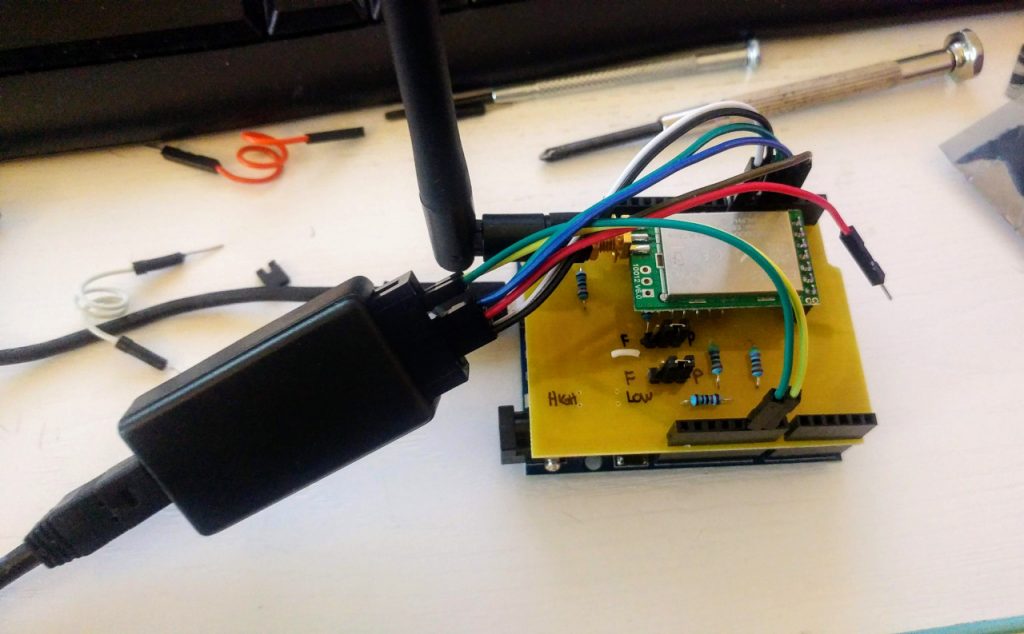
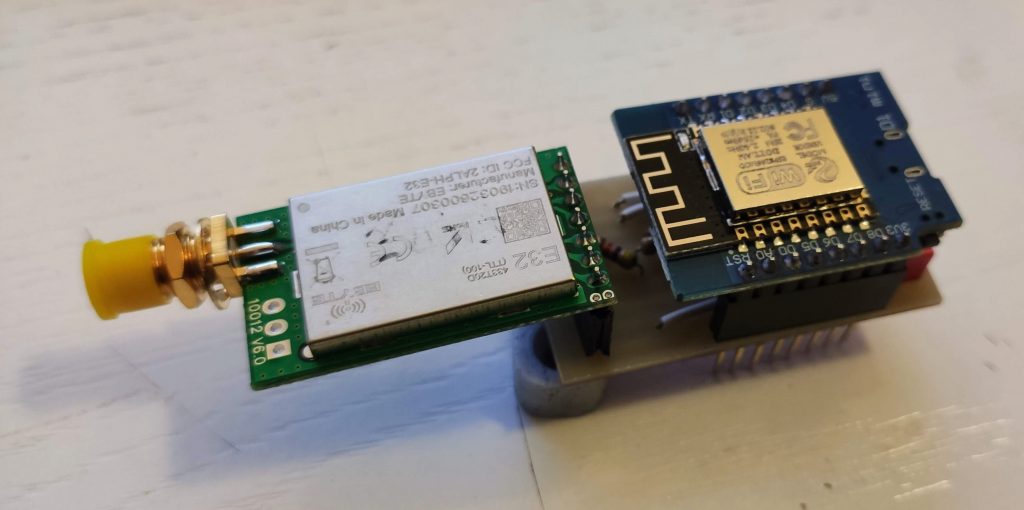
My Arduino shield for LoRa e32 device (3Km to 8Km range)
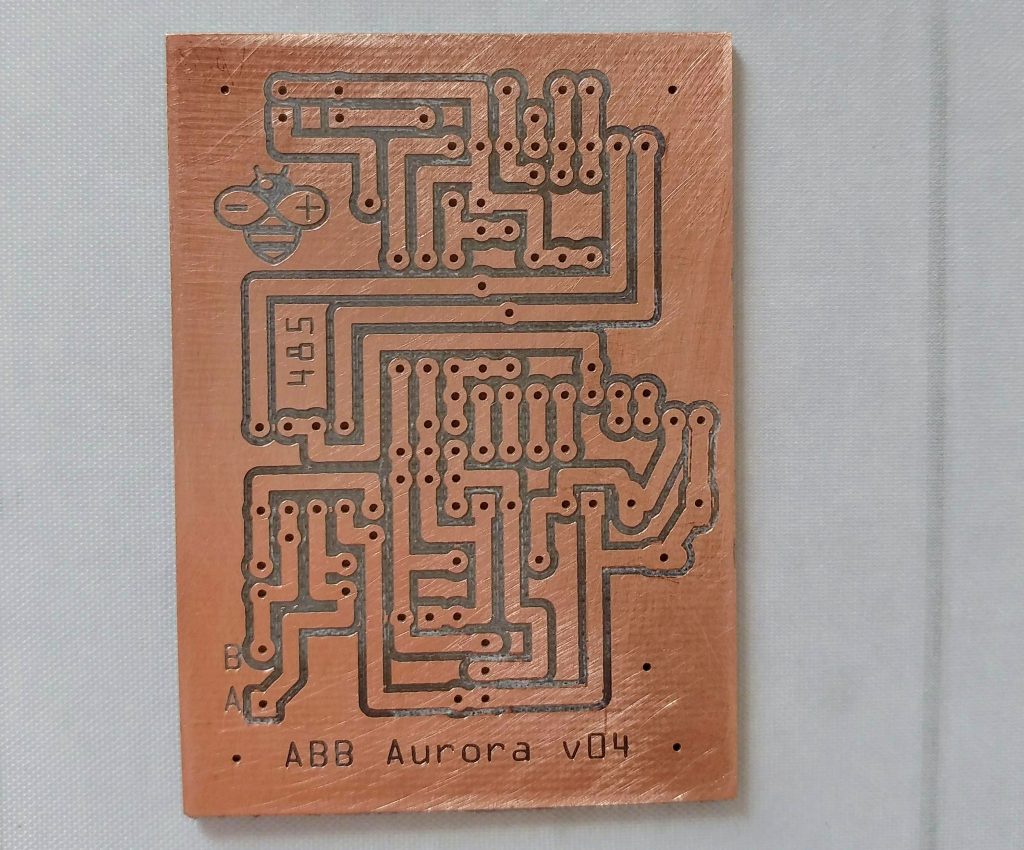
My board to control my Inverter ABB Aurora.
So now you have an idea of what this software is, I have been using FlatCAM 8 for years, but I didn’t know that the project had been heavily resumed and updated.
So we will explain not base version 8 but the new 8 beta that Marius Stanciu now develops.
Installation of new FlatCAM 8.991 version
Now to install the latest beta version, you must go to this link
https://bitbucket.org/jpcgt/flatcam/downloads/
Then for windows, there is an installer on the download page.
For the other platform, you must use the installation via source code, you can follow the specified guide, the Linux target distro is Ubuntu, and a setup file for the dependencies is provided
#!/bin/sh -e
# "-e" exists on first error.

sudo apt-get install libpng-dev \
                libfreetype6 \
				libfreetype6-dev \
				python3-dev \
				python3-simplejson \
				python3-pyqt4 \
				python3-numpy \
				python3-scipy \
				python3-matplotlib \
				libgeos-dev \
				python-shapely \
				python-pip \
				libspatialindex-dev \
				python3-tk \
				python3-shapely \
				python3-rtree \
				python3-svg.path
The Python dependencies required are this.
- Python 2.7 32-bit
- PyQt 4
- Matplotlib 1.3.1
- Numpy 1.8
- Shapely 1.3
- GEOS (Binary package required by Shapely)
- RTree
- SpatialIndex (Binary package required by RTree)
For MAC OS, after installing Python, the procedure with brew is recommended
brew install pyqt
brew install geos
brew install spatialindex

pip install numpy
pip install matplotlib
pip install rtree
pip install scipy
pip install shapely
pip install simplejson
Then start FlatCAM with python executable
python FlatCAM.py
New platform design
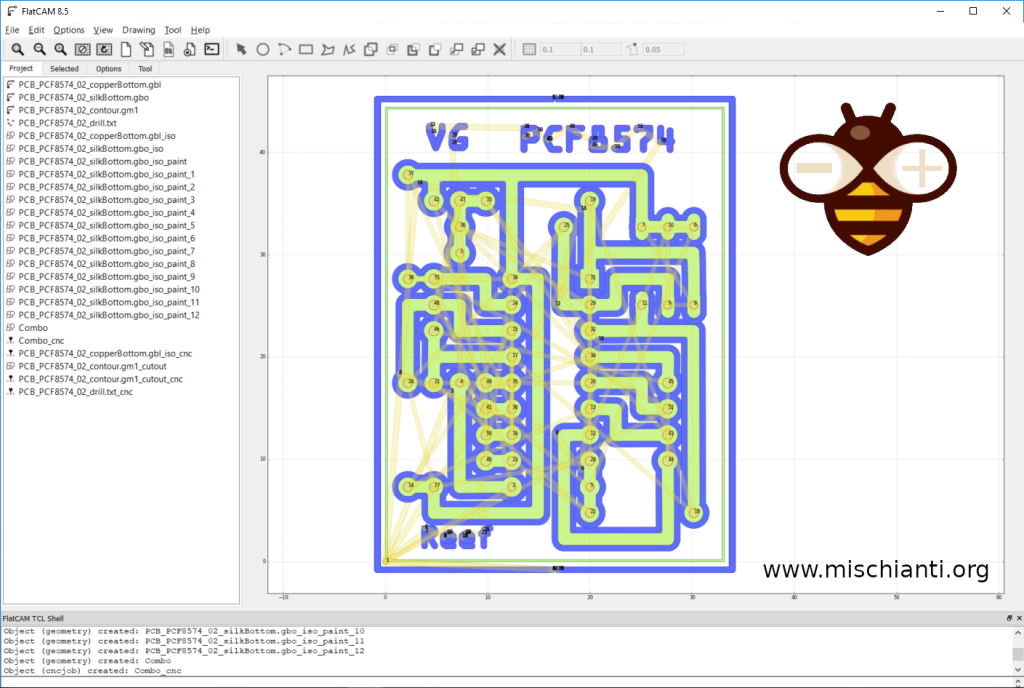
Here is the old design of FlatCAM 8.5
now FlatCAM 8.991 beta
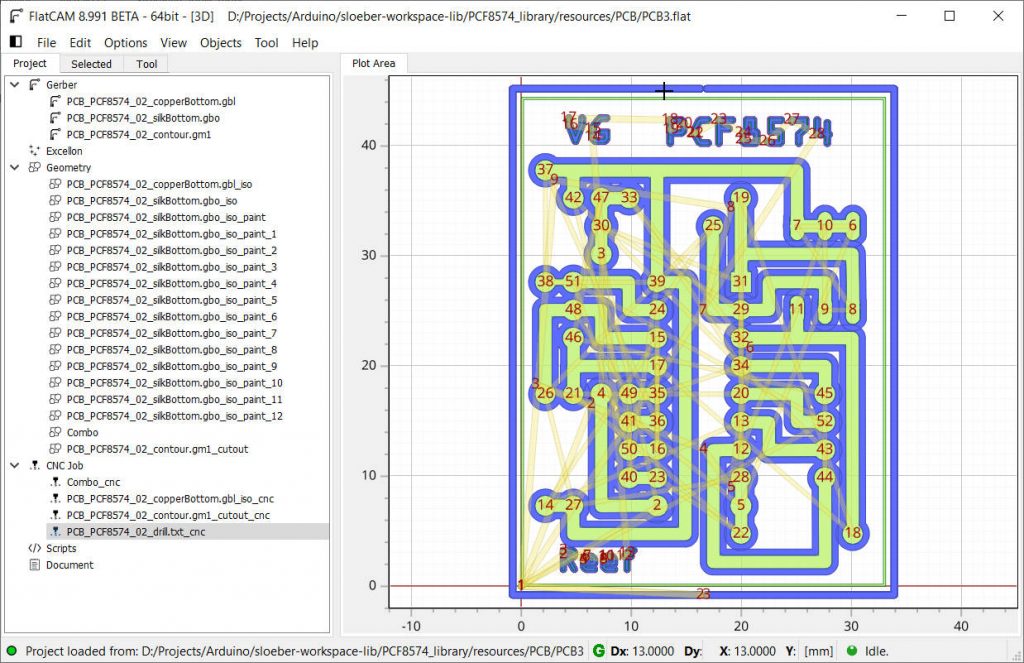
You can see that the files in the project area are hierarchically organized, the toolbar is removed, and now you can find It inside the menu.
Essential things are the possibility of doing a dynamic border cutting (follow a profile), formalizing the standard Project file, and others.
There are new Tools like the insert of QR Code, a Tools Database, and others; now, we will create a simple PCB from a Gerber file.
Start a simple project
First, you need a Gerber; I use the simple project created some months ago on this tutorial, “Milling PCB tutorial”. I add only some upgrades to the PCB, but nothing special.
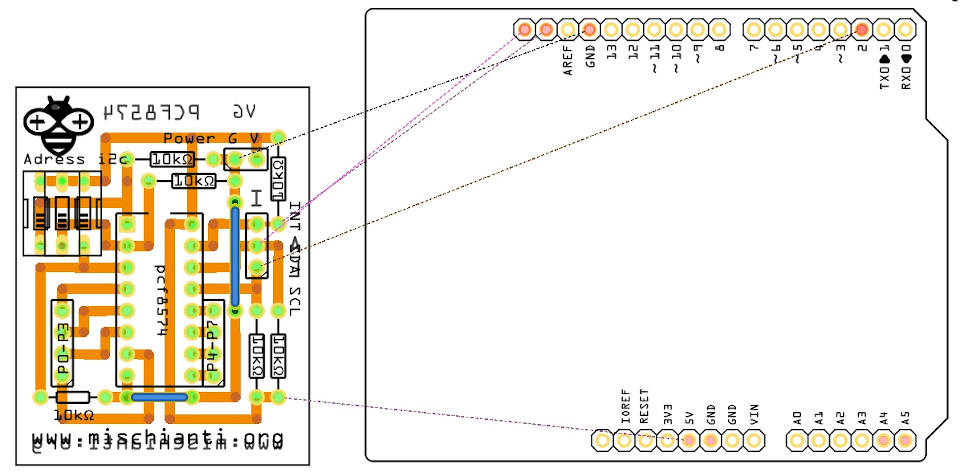
You can find the gerber on my GitHub here.
Now you must import the layer you need, for our work naturally is the bottom.
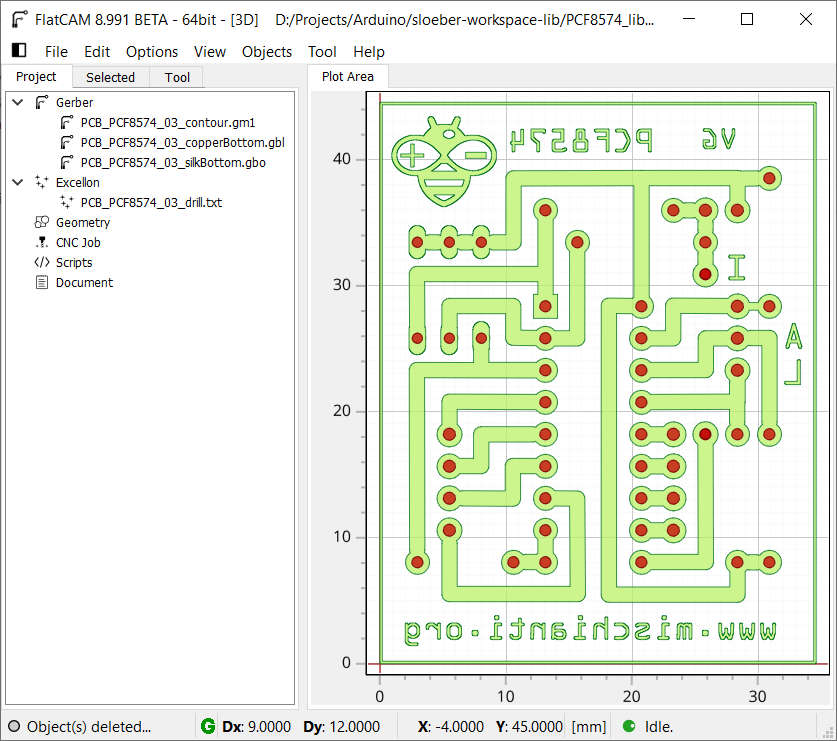
So you are going to File --> Open --> Open Gerber... and select
- PCB_PCF8574_03_contour.gm1 (contour of your PCB)
- PCB_PCF8574_03_copperBottom.gbl (copper traces)
- PCB_PCF8574_03_silkBottom.gbo (some description that we are going to mill on PCB)
then you must import the drilling information; this type of information is stored in an Excellon file
File --> Open --> Open Excellon...
- PCB_PCF8574_03_drill.txt (drilling information)
The result is in this screen
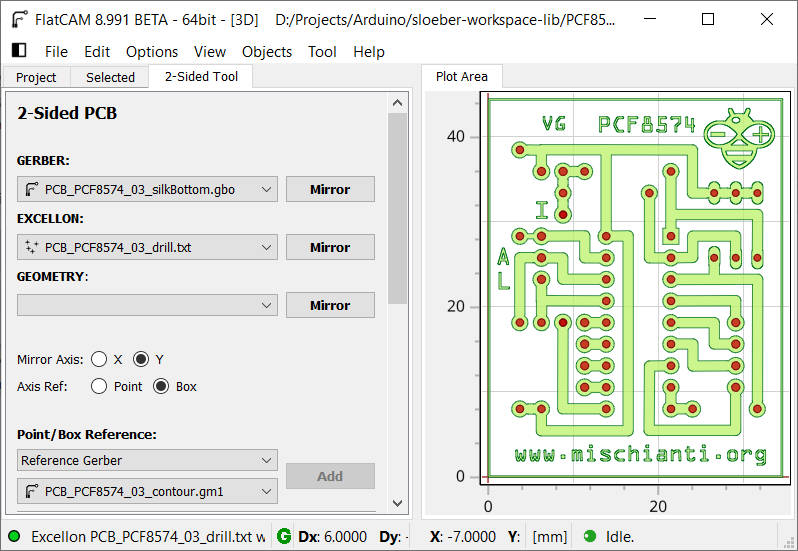
Put it in the right direction
Now, this is the file that descript an essential part of our PCB, but these parts are the upper view’s draw, so we must reverse the visualization.
You must go on Tool --> 2-Sided PCB.
Then, we can use an Axis Ref the box, and we can select a PCB_PCF8574_03_contour.gm1 as Box Reference.

X or Y Mirror Axis isn’t important, but I’d like to mirror on Y in this case.
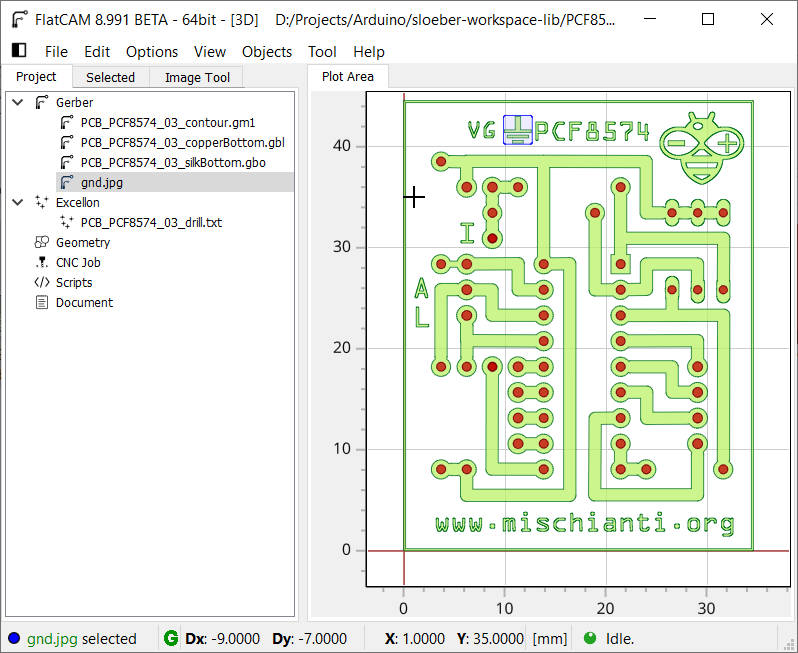
Now we will add a simple image like a Gerber element; for this purpose, I take a Ground symbol to add near the G.
It’s better if It’s a Black/White image (pay attention; It must be a well-defined image with no artifact), you can find the picture I used in the same GitHub article.
So go to File --> Import --> Image as Object and then in the Image to PCB the the the panel, select the image and open It; the symbol ![]() is imported randomly, so you must move It.
is imported randomly, so you must move It.
Select the Gerber by clicking on It ![]() , then go to Edit Move
, then go to Edit Move ![]() now you have an empty selection, and when you click on a specified space, the image is copied there.
now you have an empty selection, and when you click on a specified space, the image is copied there.
The result now is
Video recap
Thanks
- FlatCAM practical tutorial: introduction, installation and import
- FlatCAM practical tutorial: copper traces geometry
- FlatCAM practical tutorial: clean non copper area
- FlatCAM practical tutorial: silkscreen geometry
- FlatCAM practical tutorial: contour
- FlatCAM practical tutorial: gcode and PCB milling
You can find Gerber, fritzing, images, and FlatCAM project files here.


Hi Renzo,
you have a very nice tutorial about FlatCAM.
I liked FlatCAM a lot, but under the new Linux Mint I cannot run it anymore as PyQt4 is missing.
Also the beta 8.994 and old_flatcam_pyqt5 (which in fact tries to import PyQt4) do not work.
Do you know about some remedy to this problem?
Nice greetings,
JC
Hi Jean,
sorry I haven’t installation of FlatCAM on Linux, but If I find some time I try to install It on my Linux desktop or server.
Bye Renzo
Hello
I am starting with FlatCam and I came across this tutorial. It is very interesting. I only found that tutorial 2 is not enabled, could you please post it again?
Greetings
Hi Moises,
thanks for your alert. I restore the link to the second article.
Bye Renzo
FlatCam looks very interesting, but I’m unable to install on Linux Mint 20 due to the Qt4 requirement. I only have Qt5. Is there some way to use it on Linux Mint? Are there plans to move to Qt5? According to the Qt webpage, Qt5 came out in 2012 and Qt4 has been unsupported since 2015.
Hi JBeale,
next week I will restart test It and try to re-install It on my Debian.
Keep in touch.
Bye Renzo