
CNC Cyclone PCB Factory: probe and relay – Part 4
To have a perfect result you need probe helper to get autolevel data and mill with high precision, but pay attention noise can block your process. To work with high voltage you must add a relay for activation of rotary tool.
Electronic: probe
Connect probe to SDA and GRD (SDA is A5 pin).
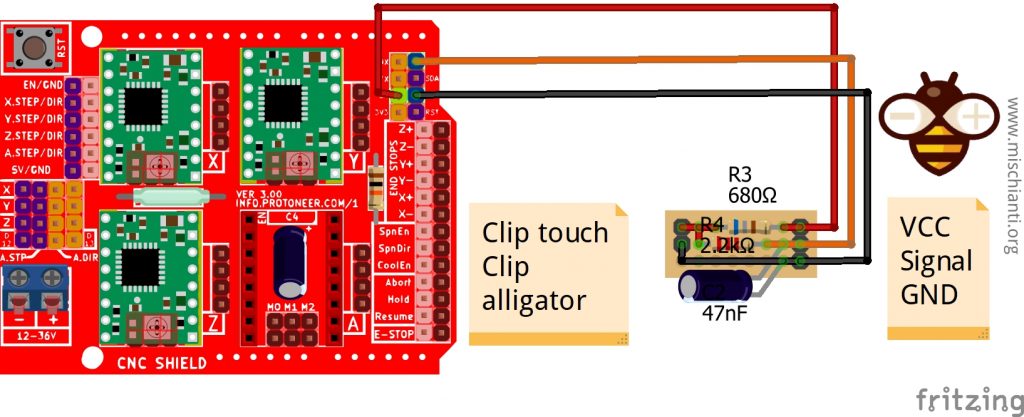
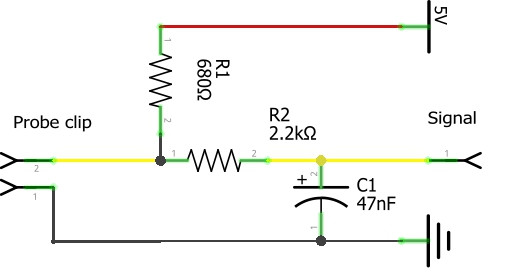
To prevent noise It’s important to add a filter that prevent unwonted touch, here a simple schema.
I create It with a simple prefored board.
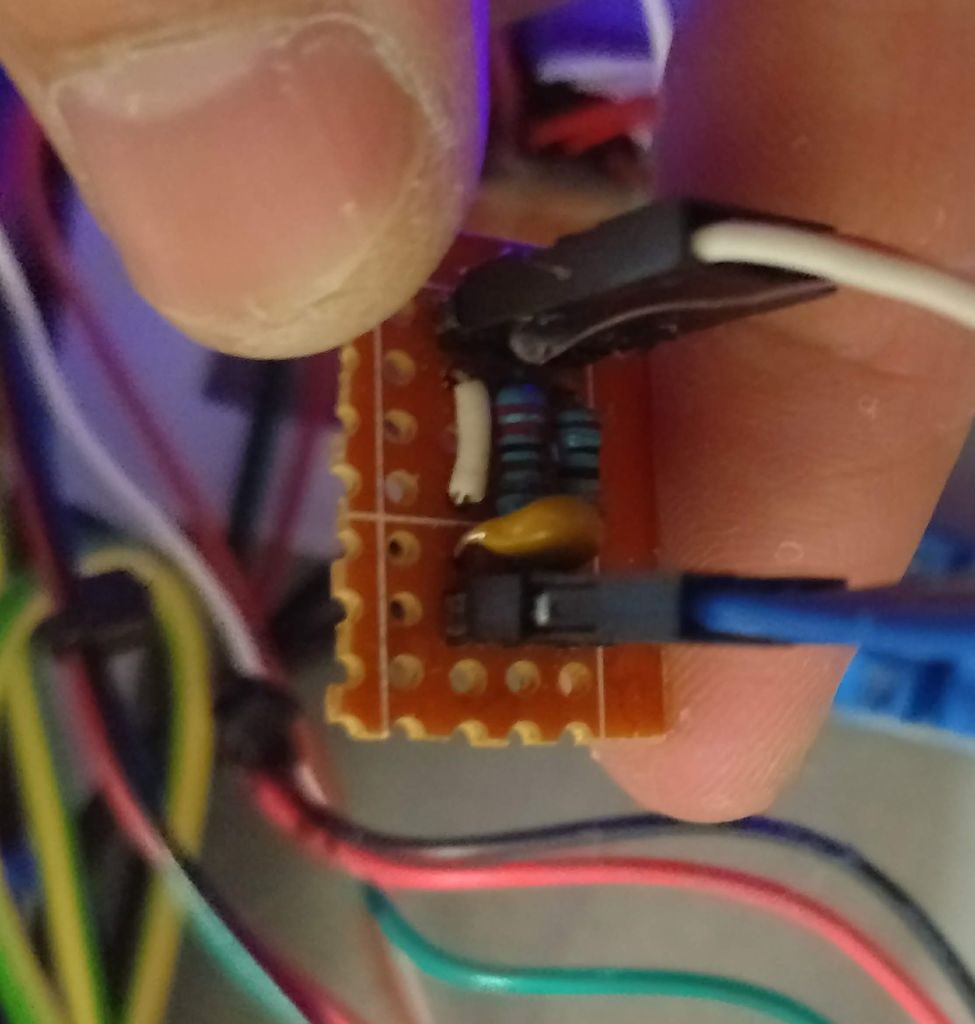
I think can be usefully add a switch to wire from probe alligato clip, so you can prevent unwanted touch.
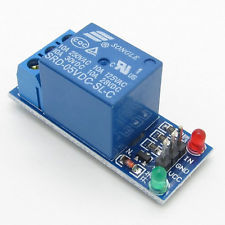
Electronic: realy for rotary tool
As described I’m going to use high voltage rotary tool (Dremel like), to do so I use a relay module.
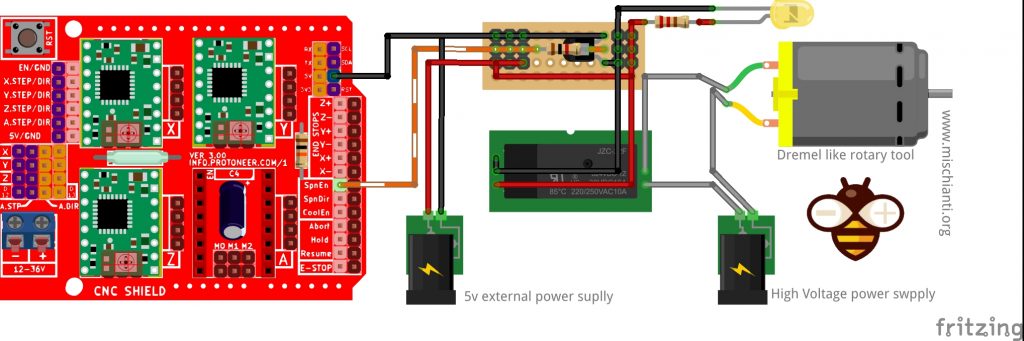
As you can see It’s better to activate relay by using a transistor, because relay want a lot of power and If you can try to power all with Arduino you can get some error and alarm, if you use a transistor you can add a led to notifiy the splindle activation without problem.
For the transistor service board I use a simple 2n2222a and a 1k resistor.
You can find here AliExpressThanks
In the next part I show how connect buttons to control milling process and bluetooth for wireless connection of the CNC.
- CNC Cyclone PCB Factory: mechanics
- CNC Cyclone PCB Factory: CNC Shield, stepper and driver
- CNC Cyclone PCB Factory: limit switch
- CNC Cyclone PCB Factory: probe and relay
- CNC Cyclone PCB Factory: control panel and bluetooth
- CNC Cyclone PCB Factory: boards schema and other
- CNC Cyclone PCB Factory: settings and tests


