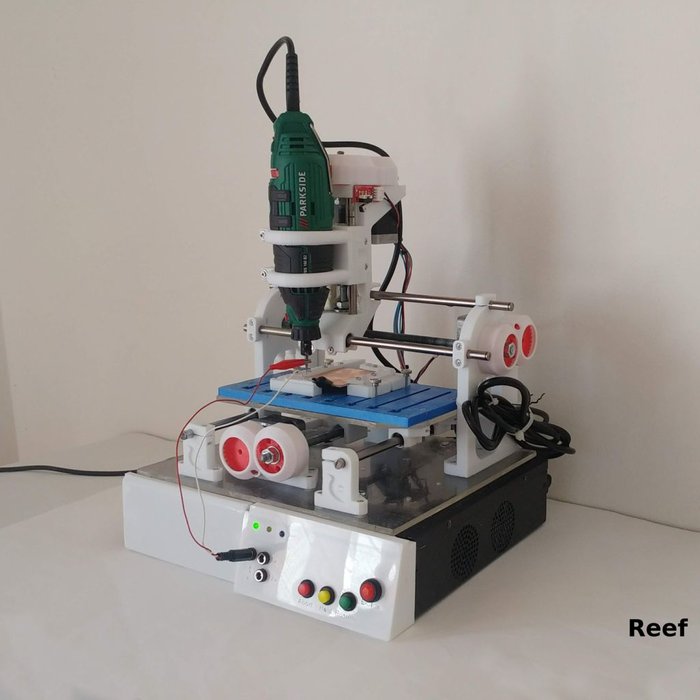
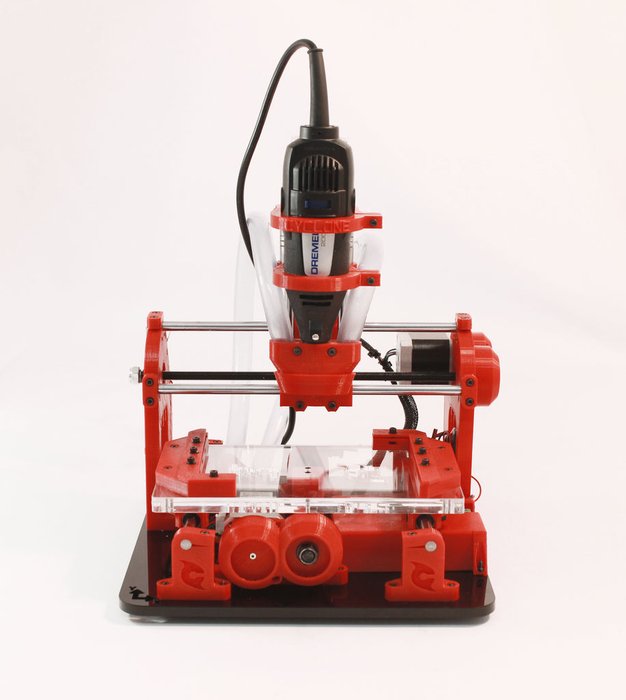
CNC Cyclone PCB Factory: mechanics – Part 1
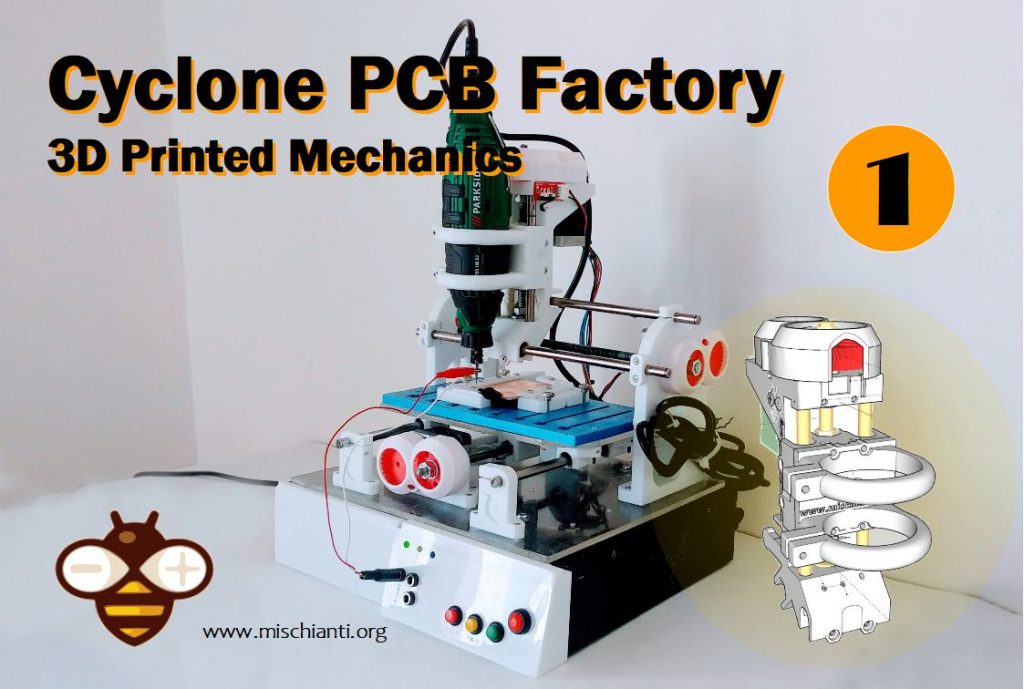
I’d like to renew my cnc for PCB so I decide to create new one from an existing project named Cyclone PCB Factory. You can find the original project here.
(I know I need to buy a good webcam)
History
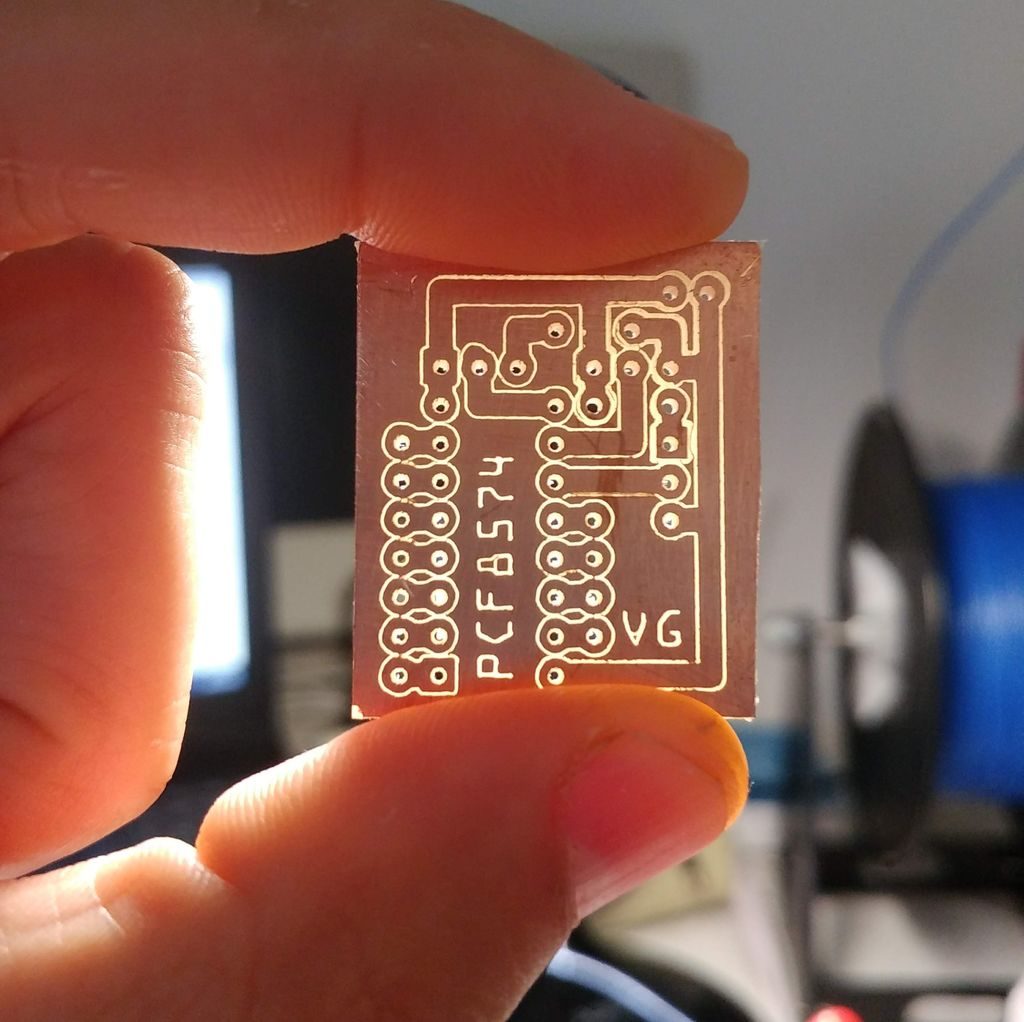
I write an article about Millin PCB with my homemade CNC, and I continue to develop and use board for personal use, but I’d like to get a more little CNC with some features like TTrack or probe to simplify the use.
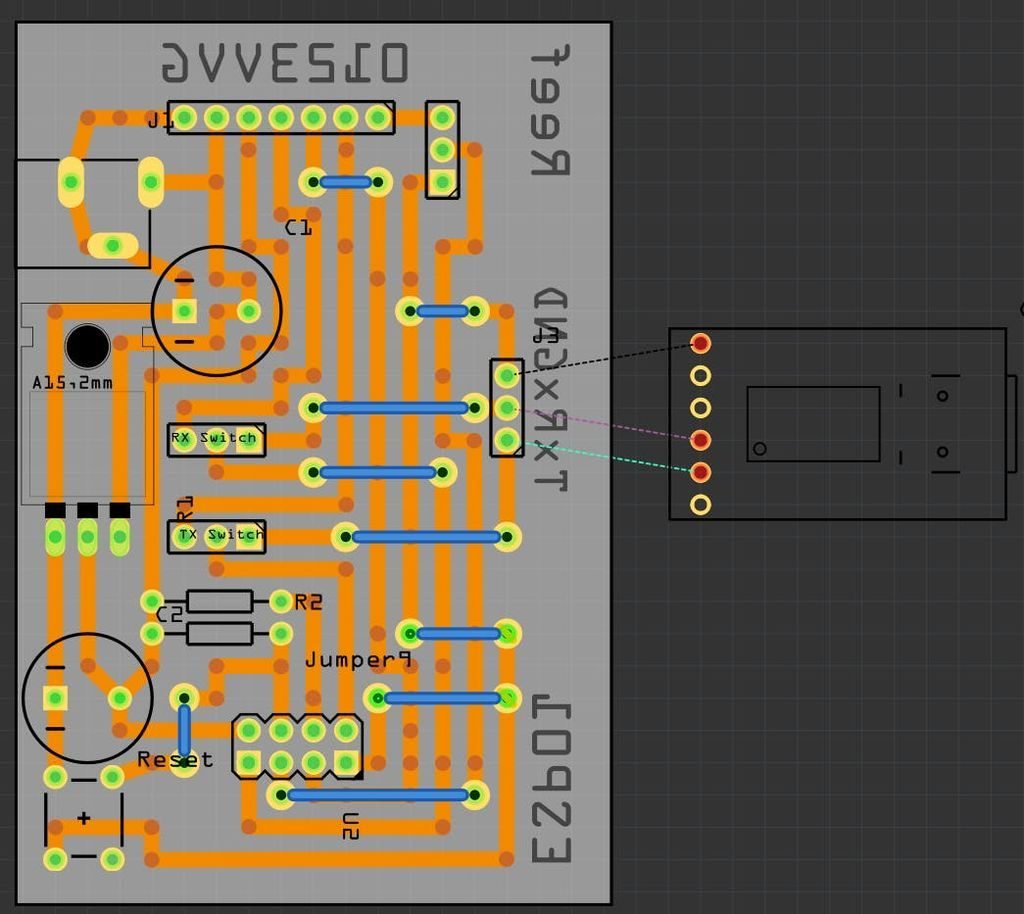
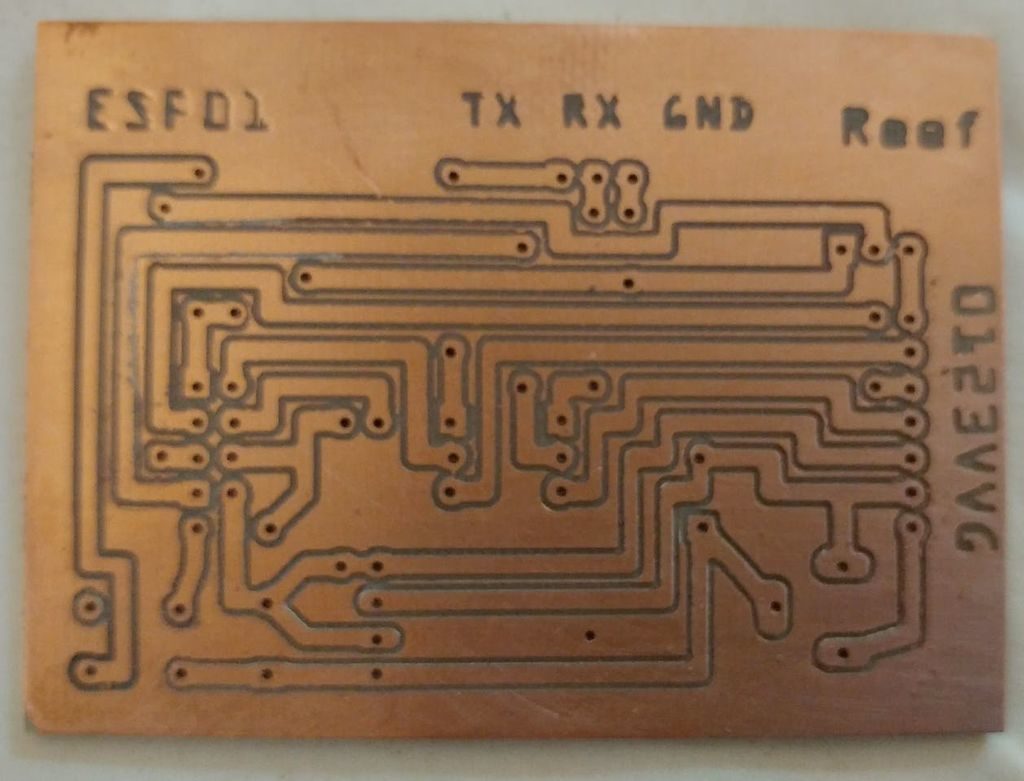
I also refer to my other article to explain the use of bluetooth pass-through serial interface to control CNC wireless.
I write a simple code for CNC shiled to calculate step/mm, you can find It here.
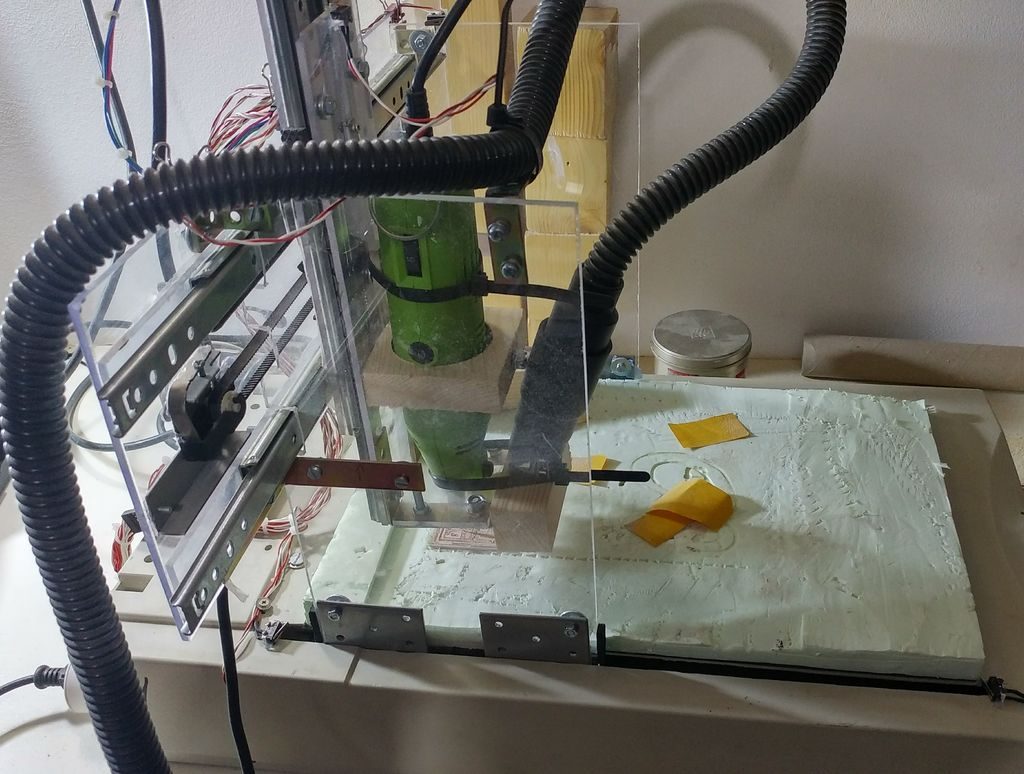
I explain my way to get It efficiently and more comfortable, but this is the first step, next I’d like to do a board to resolve all the problem I find and I resolved now with various simple “service boards”.
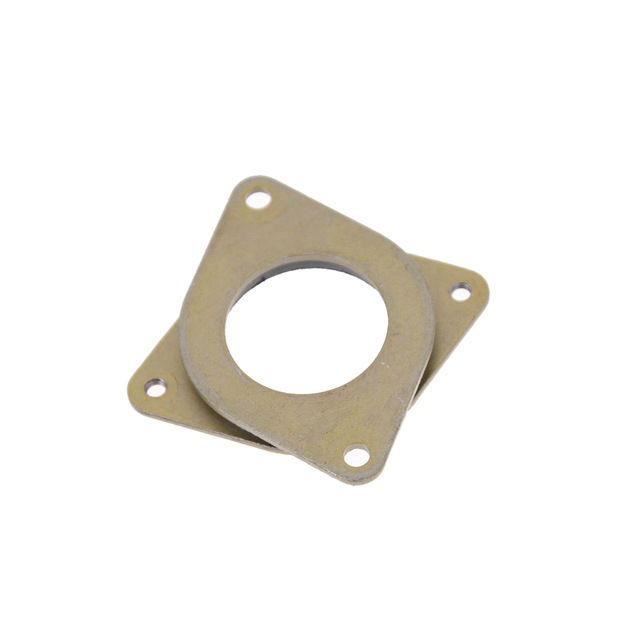
I change some part like Z Axis with new one to fix a lot of problem, new Herringbone gears to prevent noise and precision problem, and electronic with new one less expensive.
Some part like stepper and smooth rod taken from old printers.
If you have some additional experience or have a better solution write a comment or directly to me, so I can integrate you solution to the board.
Next step is to add a simple display and some digital control and minimal wifi remote.
But do all step by step.
Printing Parts: Original
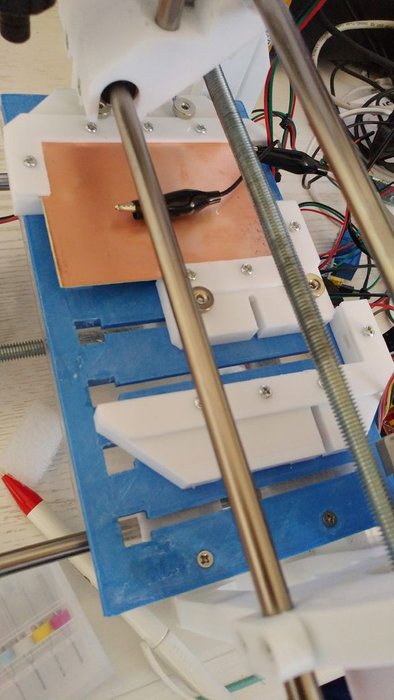
First you need to printing the needed part, as I already say I rebuild some part to fix problem or to get more precision and less noise.
The base part to print from the original project is this:
- Cycl_YfrontFrame.stl
- Cycl_rodFixer_x6.stl
- Cycl_XleftFrame.stl
- Cycl_XrightFrame.stl
- Cycl_XYgearCover_x2.stl
- Cycl_YbackFrame.stl
- Cycl_Ycarriage_linearBearingHolder_x4.stl
- Cycl_Ycarriage_nutHolder.stl
- Cycl_Yfront_RodIdlers.stl
You can find a variant here of left/right frame for little 3d printer.
Printed Parts: T-track and PCB Holder
Important features is T-track to hold PCB.
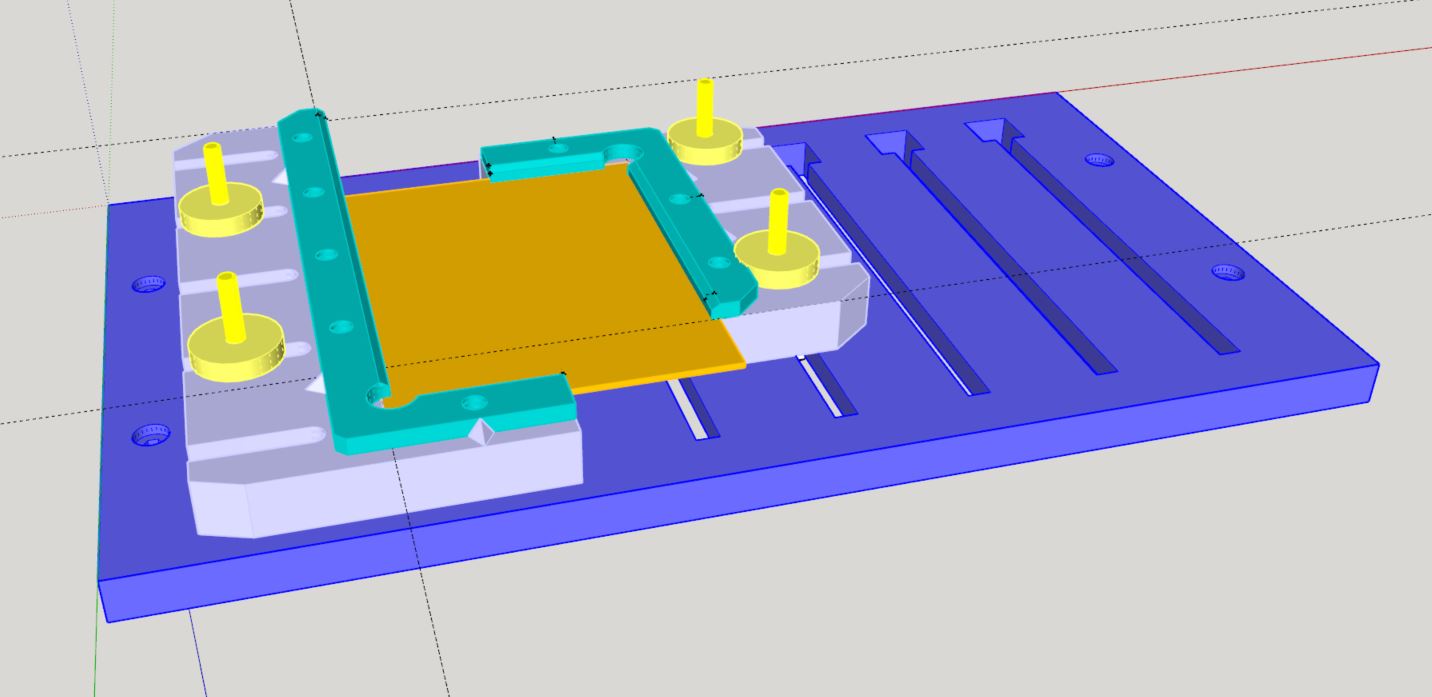
To hold the PCB you can use a TTrack, It’s very usefully.
You can find project here.
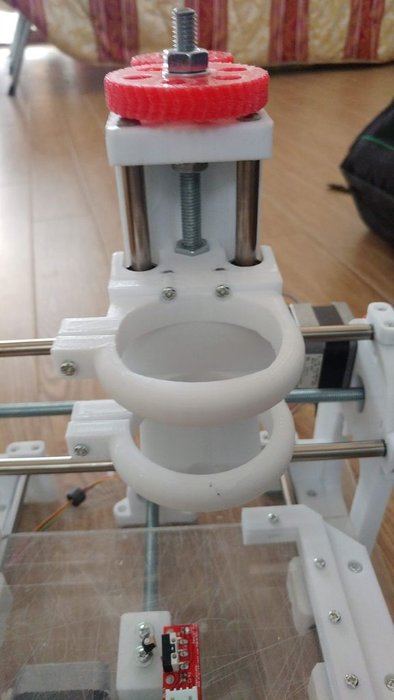
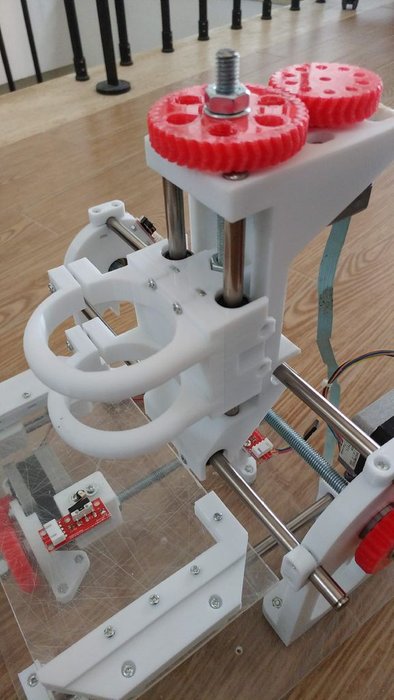
Printed Parts: Z Axis
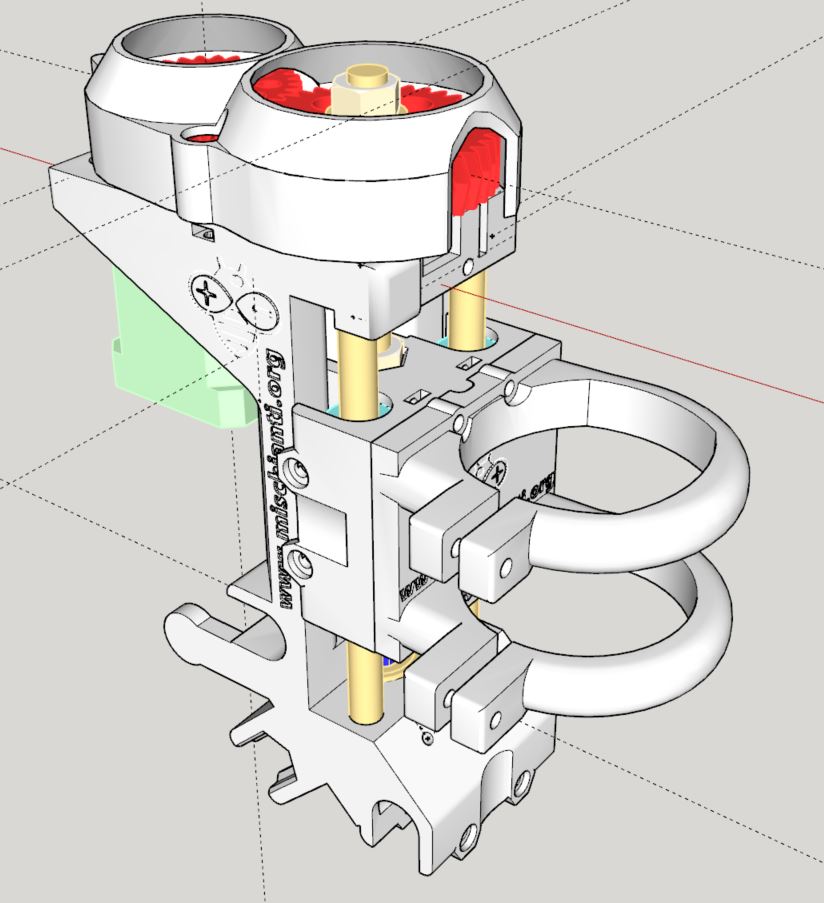

I completely redo the Z axis to prevent movement and other problem.
You can find project here.
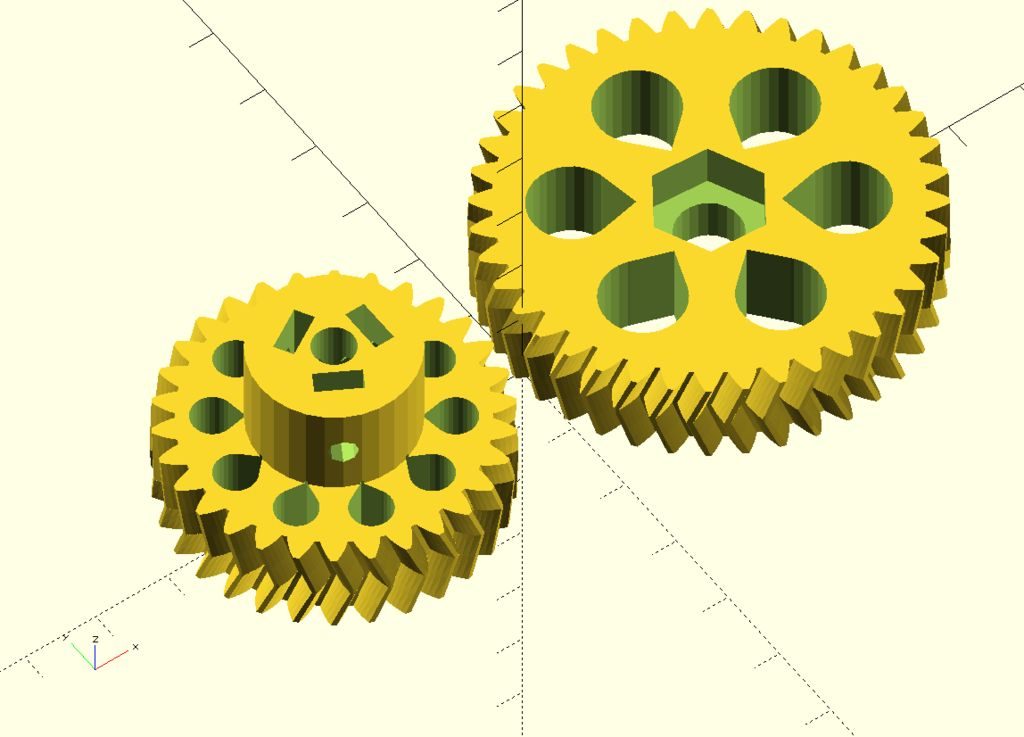
Printed Parts: Herringbone Gears
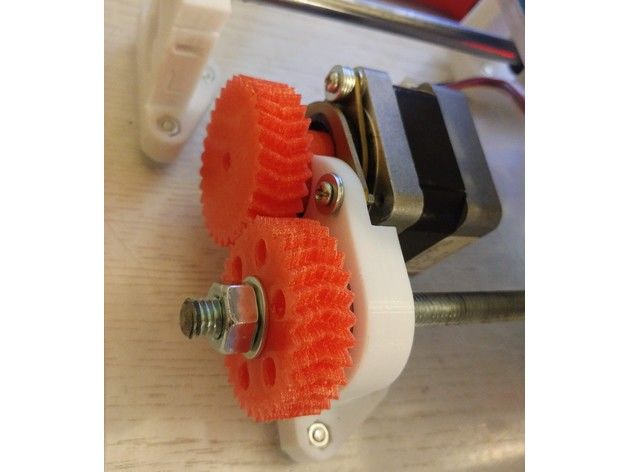
I redo the gears also to be more efficient and with less noise.
You can find project here.
Cutted Parts: Base and Workbed
In the original project there are various file formats of this elements, PDF, images or file to lasercut.
I printed pdf version and reproduce it on a plexiglas sheet.
Exist design to create a printable version, of the base and workbed.
Parts: Shopping List
You can find a complete shopping list in the official site.
Remember to take personalized parts also.
Wait for electronic part, we are going to do something alternative in the next pages.
The first needed part is
- 3xNema 17
You can find here Aliexpress
- 3xLimit switch mechanical
You can find here AliExpress
- M3 screw;
- M8 threaded rods (3Meter);
- some M8 smoth rods (I get It from old printer and cut when I assembled first part);
- M8 Nuts and M8 Blocked Nuts;
- some M8 and M3 washer;
- For the 3 Nema17, to prevent deformation of PLA or ABS or PETG material I advise Nema17 damper
You can find here AliExpress
- and my gears with 3 M3 nut and 3 grain to fix It;
Parts: Assembly
As already mentioned to assembly all part refer to the wiki of Cyclone PCB, but for z axis refer to thingiverse project..
Thanks
In the next part we start the introduction of Electronic component to have a perfect low cost solution with all features of professional CNC.
- CNC Cyclone PCB Factory: mechanics
- CNC Cyclone PCB Factory: CNC Shield, stepper and driver
- CNC Cyclone PCB Factory: limit switch
- CNC Cyclone PCB Factory: probe and relay
- CNC Cyclone PCB Factory: control panel and bluetooth
- CNC Cyclone PCB Factory: boards schema and other
- CNC Cyclone PCB Factory: settings and tests